 Mi Xiaomi 4 mobile phone replacement battery introduction: saying that in 2014 double 11 to home LD grab a 2G memory of the millet 4 special edition, this year in March to LD upgrade rice 5 finally red rice NOTE updated to a m 4! At that time, she wrote a special slogan for this rice meter 4, which eventually became an unsuccessful milestone! Well, do not pull away, 14 years 11 to 4 now have been in service for nearly two years, the battery has obviously powerless. A little more than a little play, one day can not hold back. Spiderkk| Likes 17 Comments 37 Favorites 100 View Details
 Not long after the battery was tossed on the phone, there was a problem with the phone. This time it was the volume button.
 Millet 4 volume key cable _ Taobao search Taobao search is the most intelligent commodity search engine, through the operation of big data, accurate understanding of goods and users, to provide accurate personalized search experience. Direct links to s.taobao.com
 In line with self-reliance, there is a lot to find at Majia.

There is no scientific and technological content in rushing to the foot, so I found a reasonable price. By the way, under a single battery, the last time the battery seller sent a piece of the problem is still the same, in exchange for the original is also in a hurry, they also found a good home to touch the luck, in fact, if you want insurance or direct buy Scud The battery is just fine.
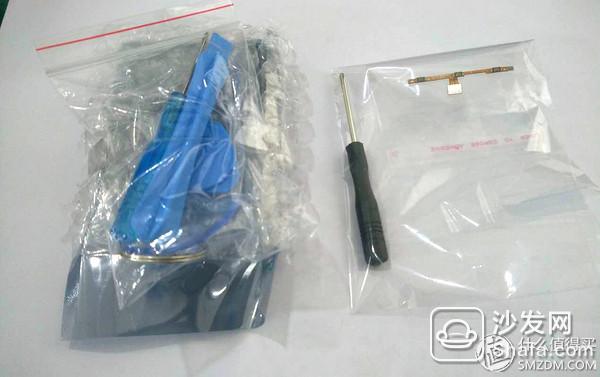
Two express delivery at the same time, this is not bad, at least do not have to split twice! The left is the battery, a set of disassemble tools, the right is the button cable, but also sent a screwdriver! This is really good.
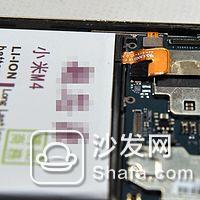
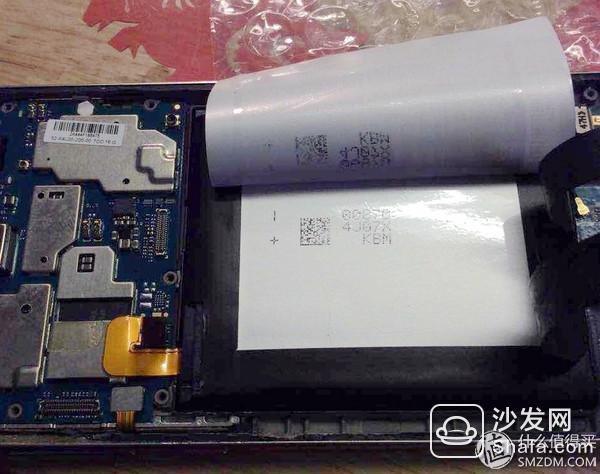
The battery is in an electrostatic bag and looks pretty regular! However, after taking a closer look, I discovered it.

60x magnification, the details of the font printing are blurred, and the joint solder joints look normal! ... It seems that this time it will be pitted again.
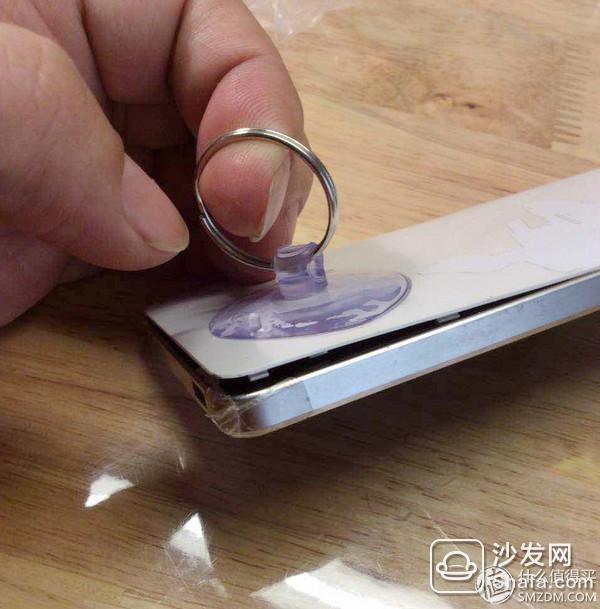
On the suction cup, the back cover is opened many times, it is very easy to open
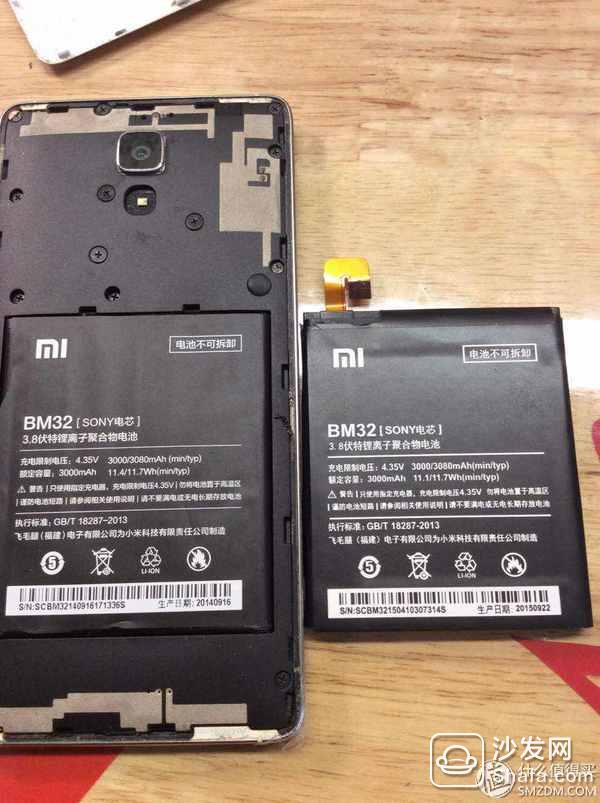
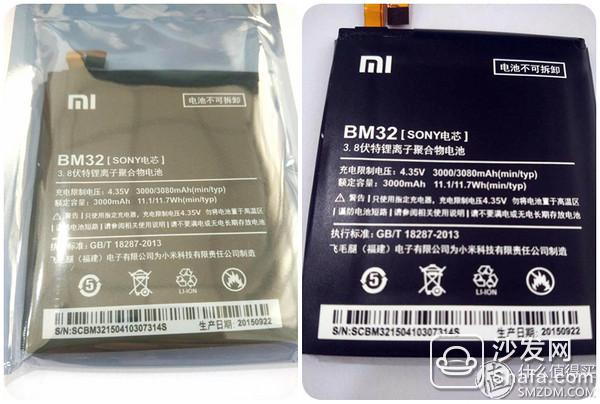
With the comparison it is easy to see the problem, the right side is the newly purchased battery, the printing is obviously not as good as the original left.
 Do not entangled, open, a total of 10 screws, the top three do not screw.

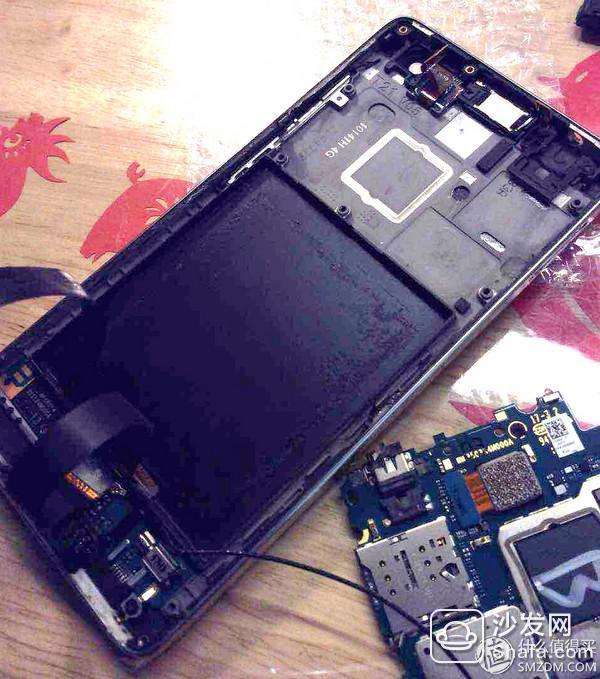
To remove the battery, remove the two cables and then remove the battery.
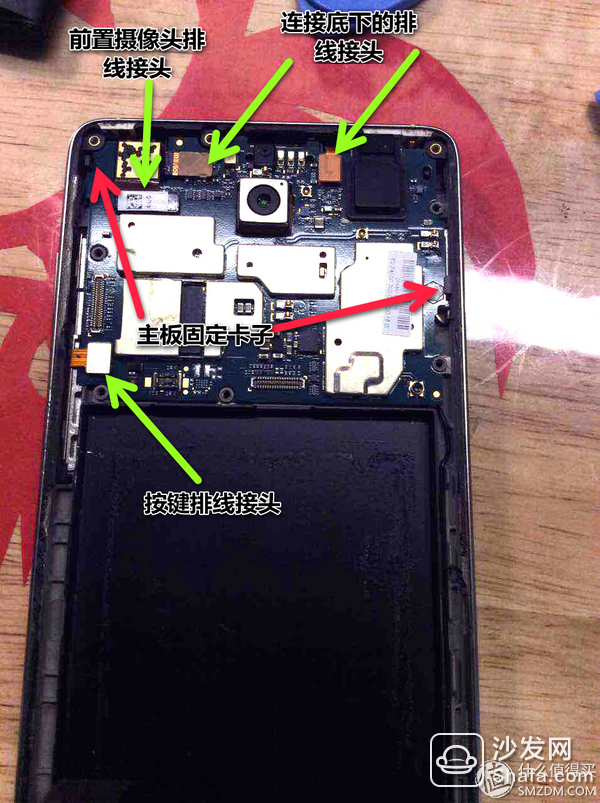
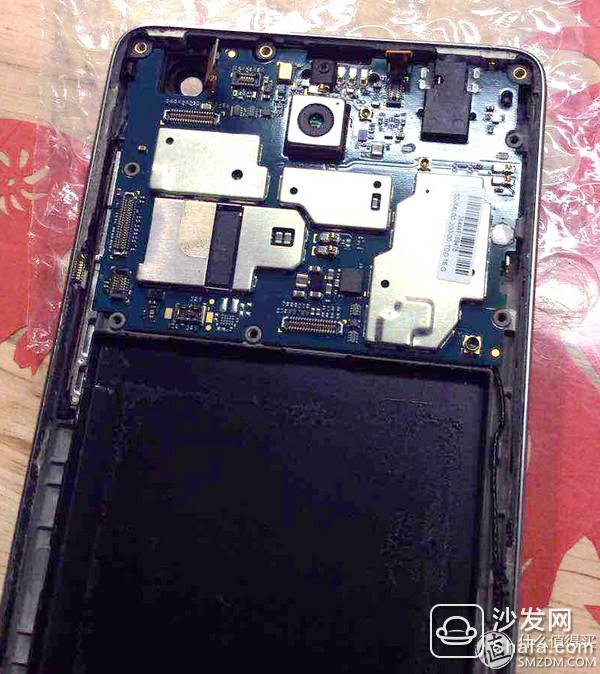
The next step is to disconnect the connector on the motherboard to remove the motherboard. To fix the motherboard, the left and right red arrows mark the clips. Note that before taking the motherboard, you must remove the phone card, otherwise the following problems will occur. !
After the cables are disassembled, the front camera can be removed and the clips can be opened with a small lever.
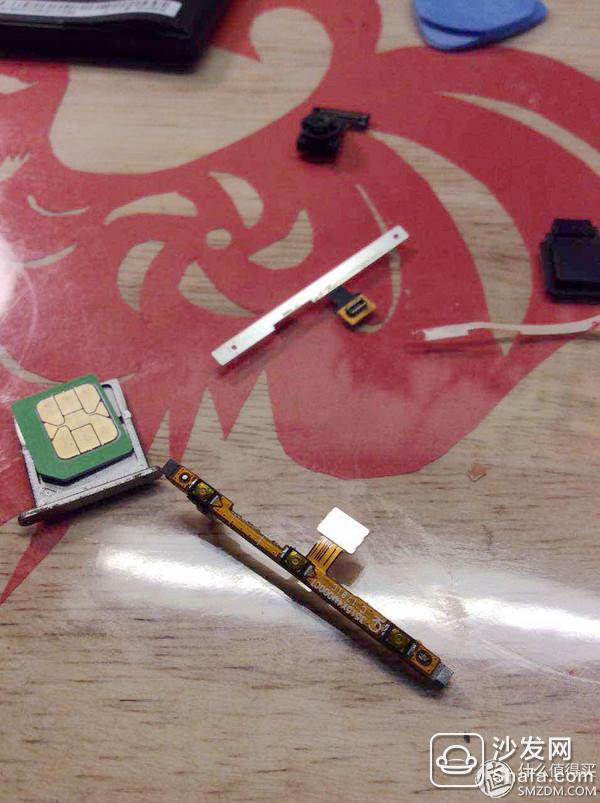
There will be a bit of sticky feeling, there is no start to take the card, split it so it was stuck in the slot!
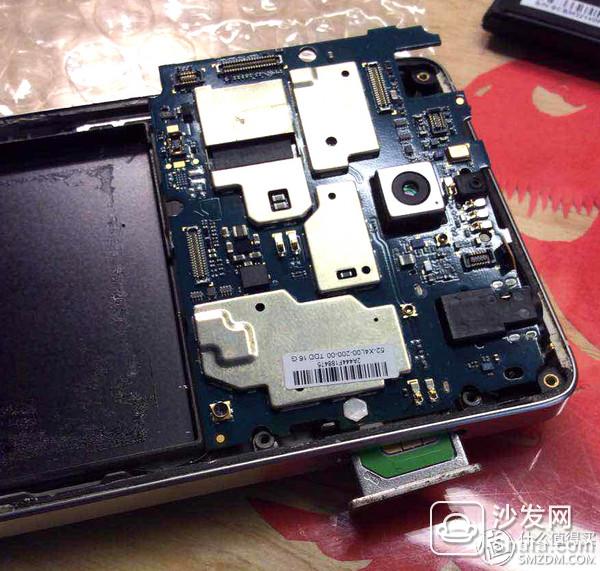
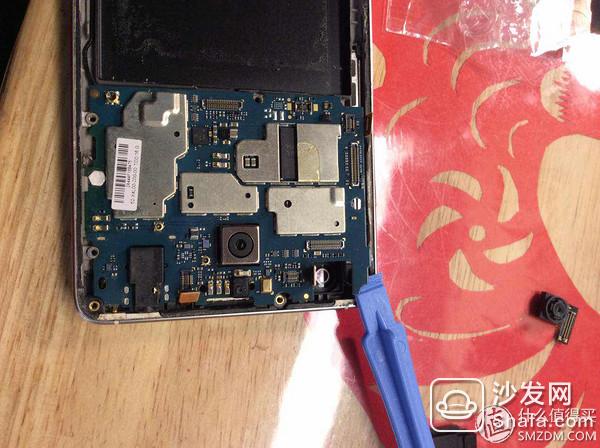
Withdraw the card slot to remove the motherboard.
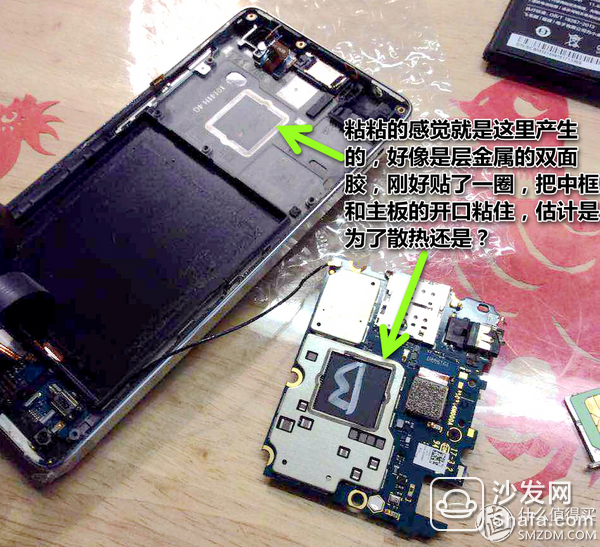
Take down the motherboard and find the reason why it was sticky...

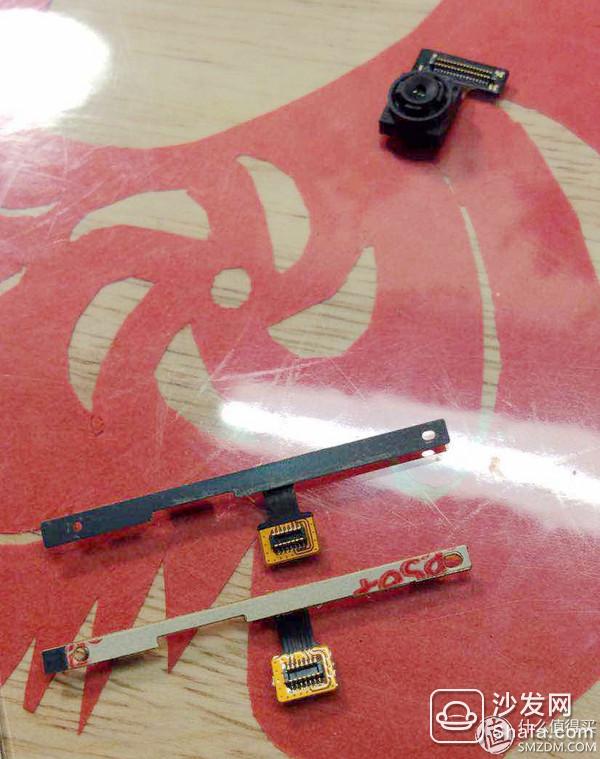
The switch cable is glued to a piece of metal, and the small lever is easily removed
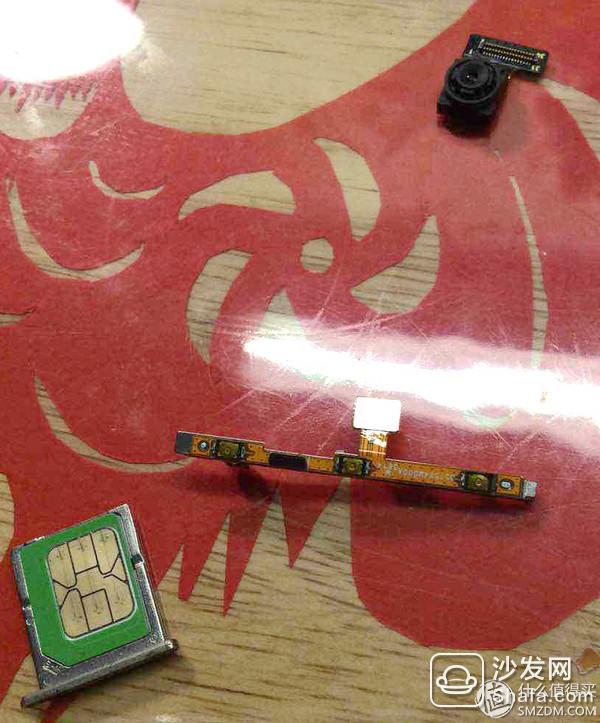
This is the culprit, the line switch, but think about it took 2 years to issue, compared to the red rice NOTE has been enough for a long time.
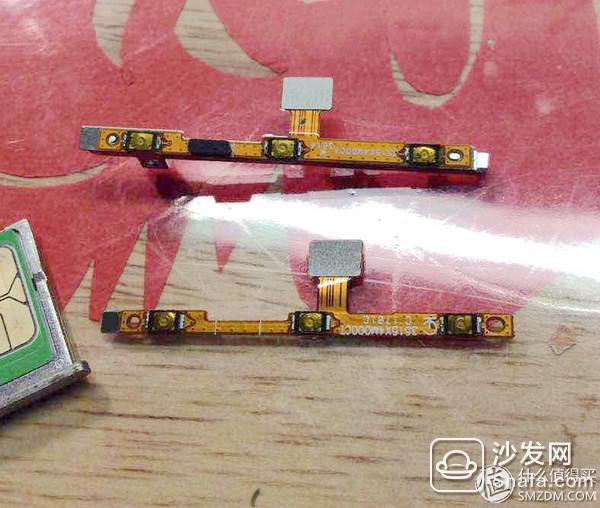
The newly purchased switch cable, in fact, good workmanship can directly buy micro-switch welding, but ready-made is not expensive, you do not have trouble. The difference is still somewhat different. The content and location of printed texts are different, and other feelings are similar. The original switch also comes with a black cotton pad. It is estimated that it acts as a spring and can support the outside switch button.
The back of the switch is metal, the following tape layer adhesive, not yet exposed
The switch is glued to the metal support and the positions of the fixed openings at both ends are quite accurate.
Replace the original position
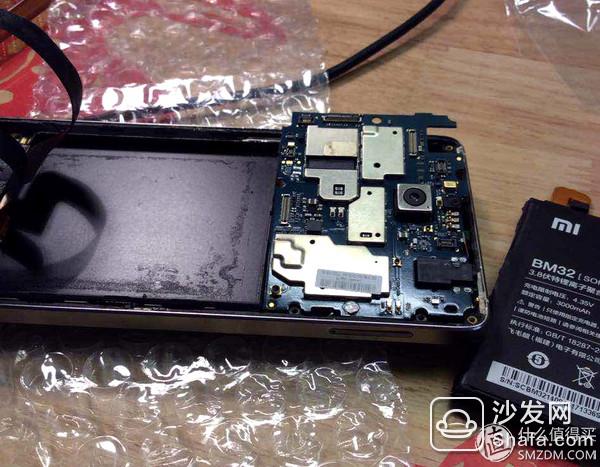
Reinstall the motherboard

Next is the battery, first install the battery
Then uncover the cover of the battery
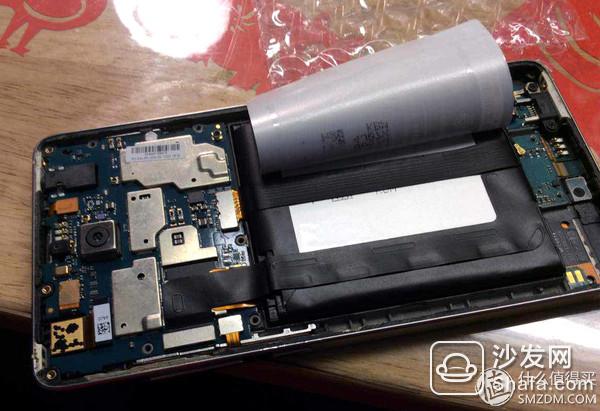
The two cables have passed from here.
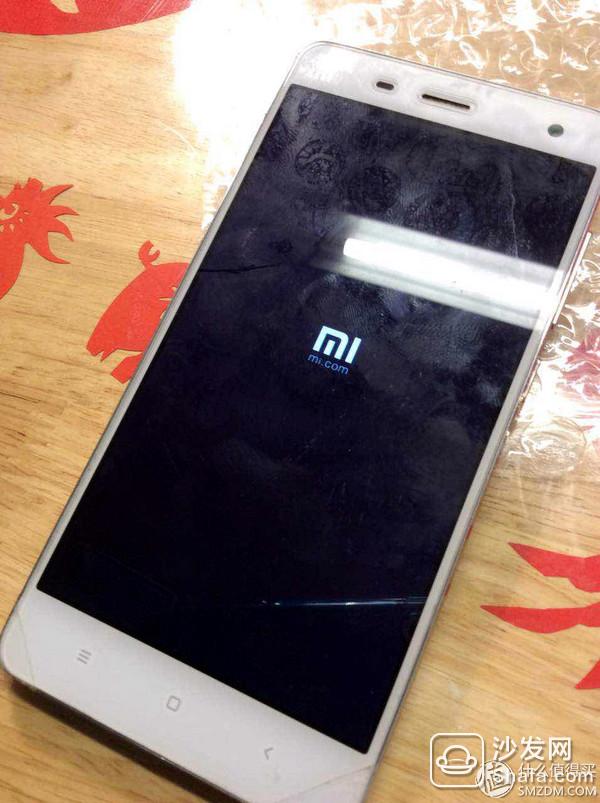
Boot, once lit!
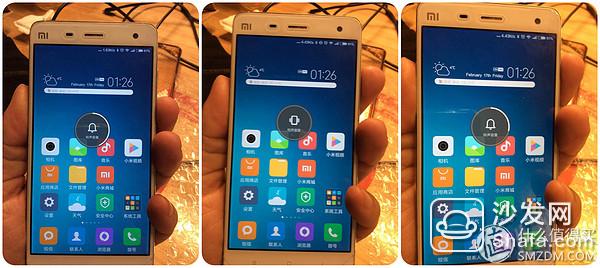
Try adjusting the volume! perfect! Haha, there are problems with the phone can try to replace it! Small things to solve big problems!
Wuxi Doton Power , https://www.dotonpower.com